Tuesday 30 July 2013

Germany- Black Forest Cupcakes

A Little History:

Black Forest gateau (or Schwarzwälder Kirschtorte) is not actually named after the Black Forest region, but a liquor made in the area known as Schwarzwälder Kirsch which is made from tart cherries (yum!). The black forest cake was first mentioned in writing in 1934 and a traditional cake includes cherries, cream, liqueur and chocolate cake. 


Ingredients:

  • 250 grams 70% dark chocolate broken into pieces
  • 150 grams unsalted butter
  • 6 large eggs
  • 175 grams caster sugar
  • 75 grams ground almonds
  • 2 tablespoons plain flour
  • 200 milliliters double cream
  • 1 vanilla pod, cut lengthways and scraped out, please keep the pod as well!
  • zest and juice of one orange
  • 250 grams of frozen black forest fruits


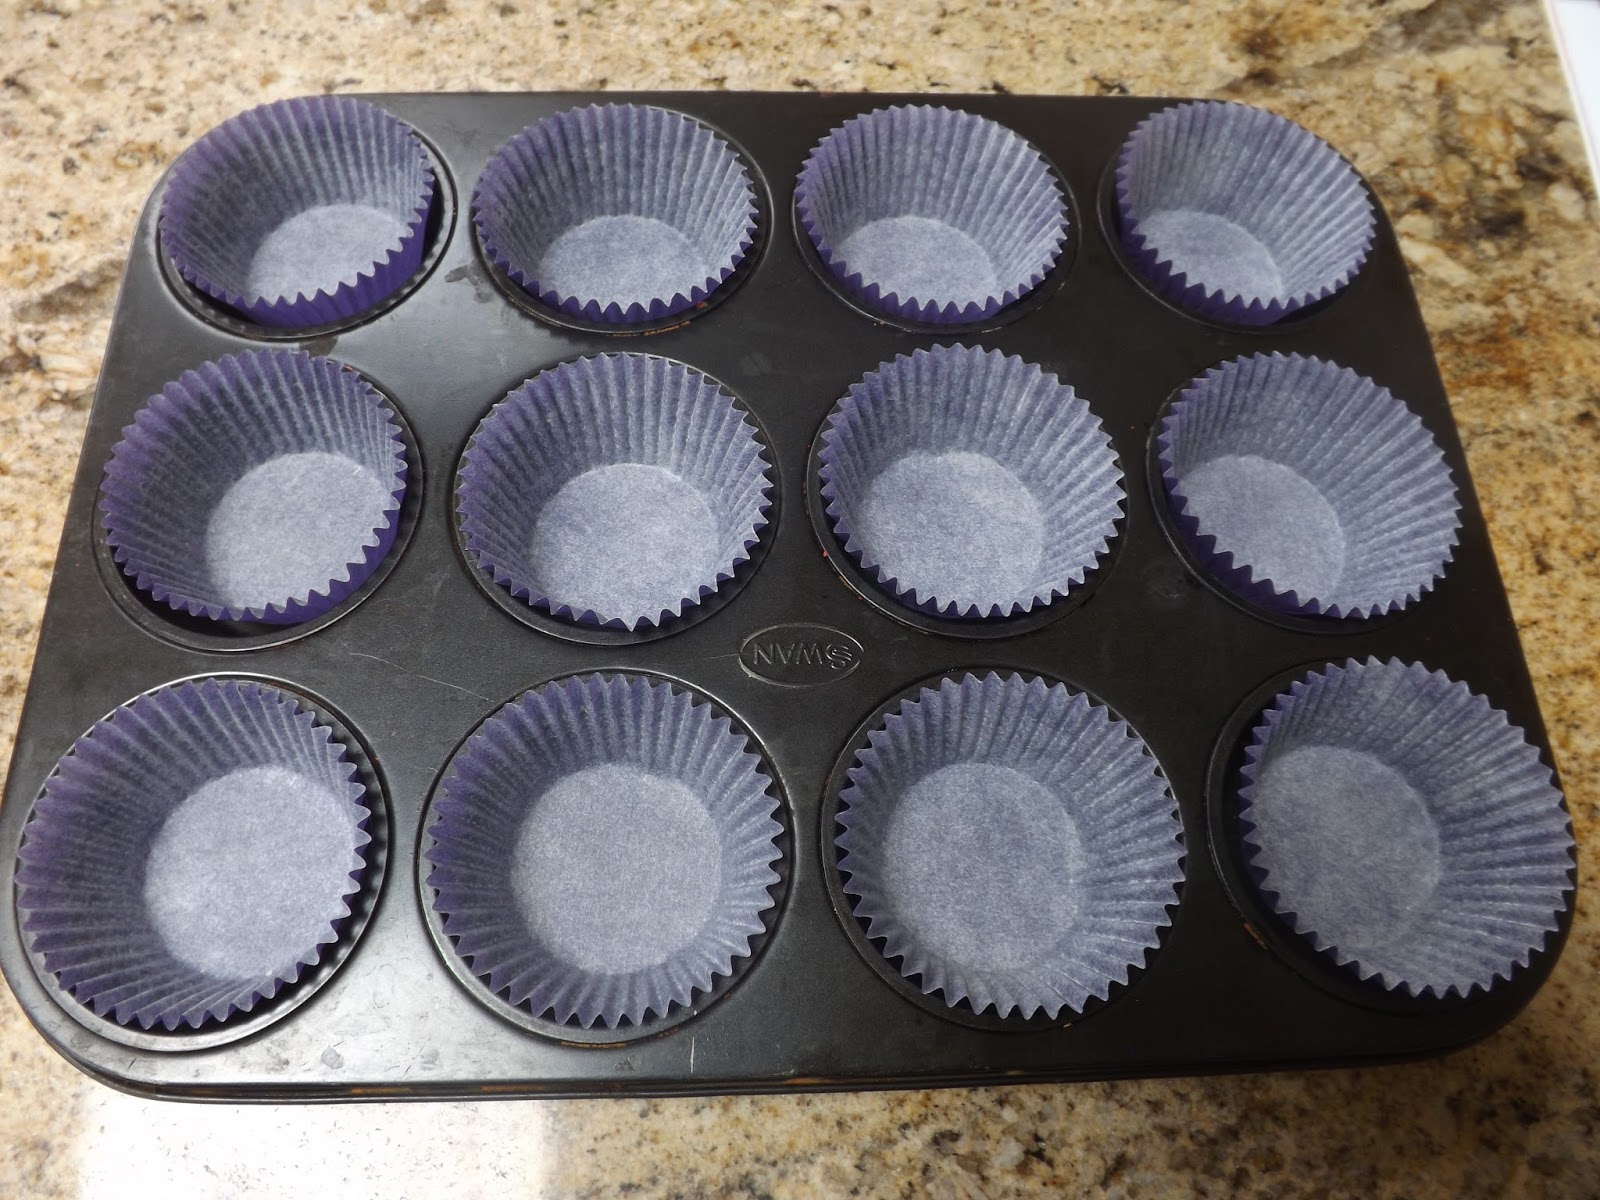
1. Preheat the oven 180 degrees celsius  350 F/ gas 4. Line a muffin tray with cupcake/ muffin cases, I chose purple cases as it looked nice with the fruit plus purple is my favorite colour! 


2. Put your chocolate into the microwave for two minutes, stop the microwave when one minute into the cycle and stir, this allows the heat to spread equally and also prevents the chocolate burning, then add the butter and mix until all the butter has melted. This is the hardest step, do not eat the chocolate, put it on the side to cool.


3. Whisk the eggs until pale and thick, it is really important that you beat the eggs well as this is where the air for the cakes comes from. Then add 125 grams of the caster sugar, the ground almonds and the flour (add these around the sides of the egg mixture so it less likely to knock the air out) and stir with a large metal spoon, then, again around the sides, add the chocolate and fold in the mixture. If you have eaten the chocolate, shame on you! If I can avoid eating the chocolate so can you! 


4. Divide the mixture into the cases and pop in the oven for 16- 20 minutes, they should be springy when done, to check to see if the cakes are done, pop a skewer in the centre of a cake and it should come out clean. Once done, place the cakes on a wire rack and wait to cool completely.


5. Scrape out the seeds of the vanilla pod (keep the pod for later!) and add to the cream, then beat the living daylights out the cream until it forms soft peaks.


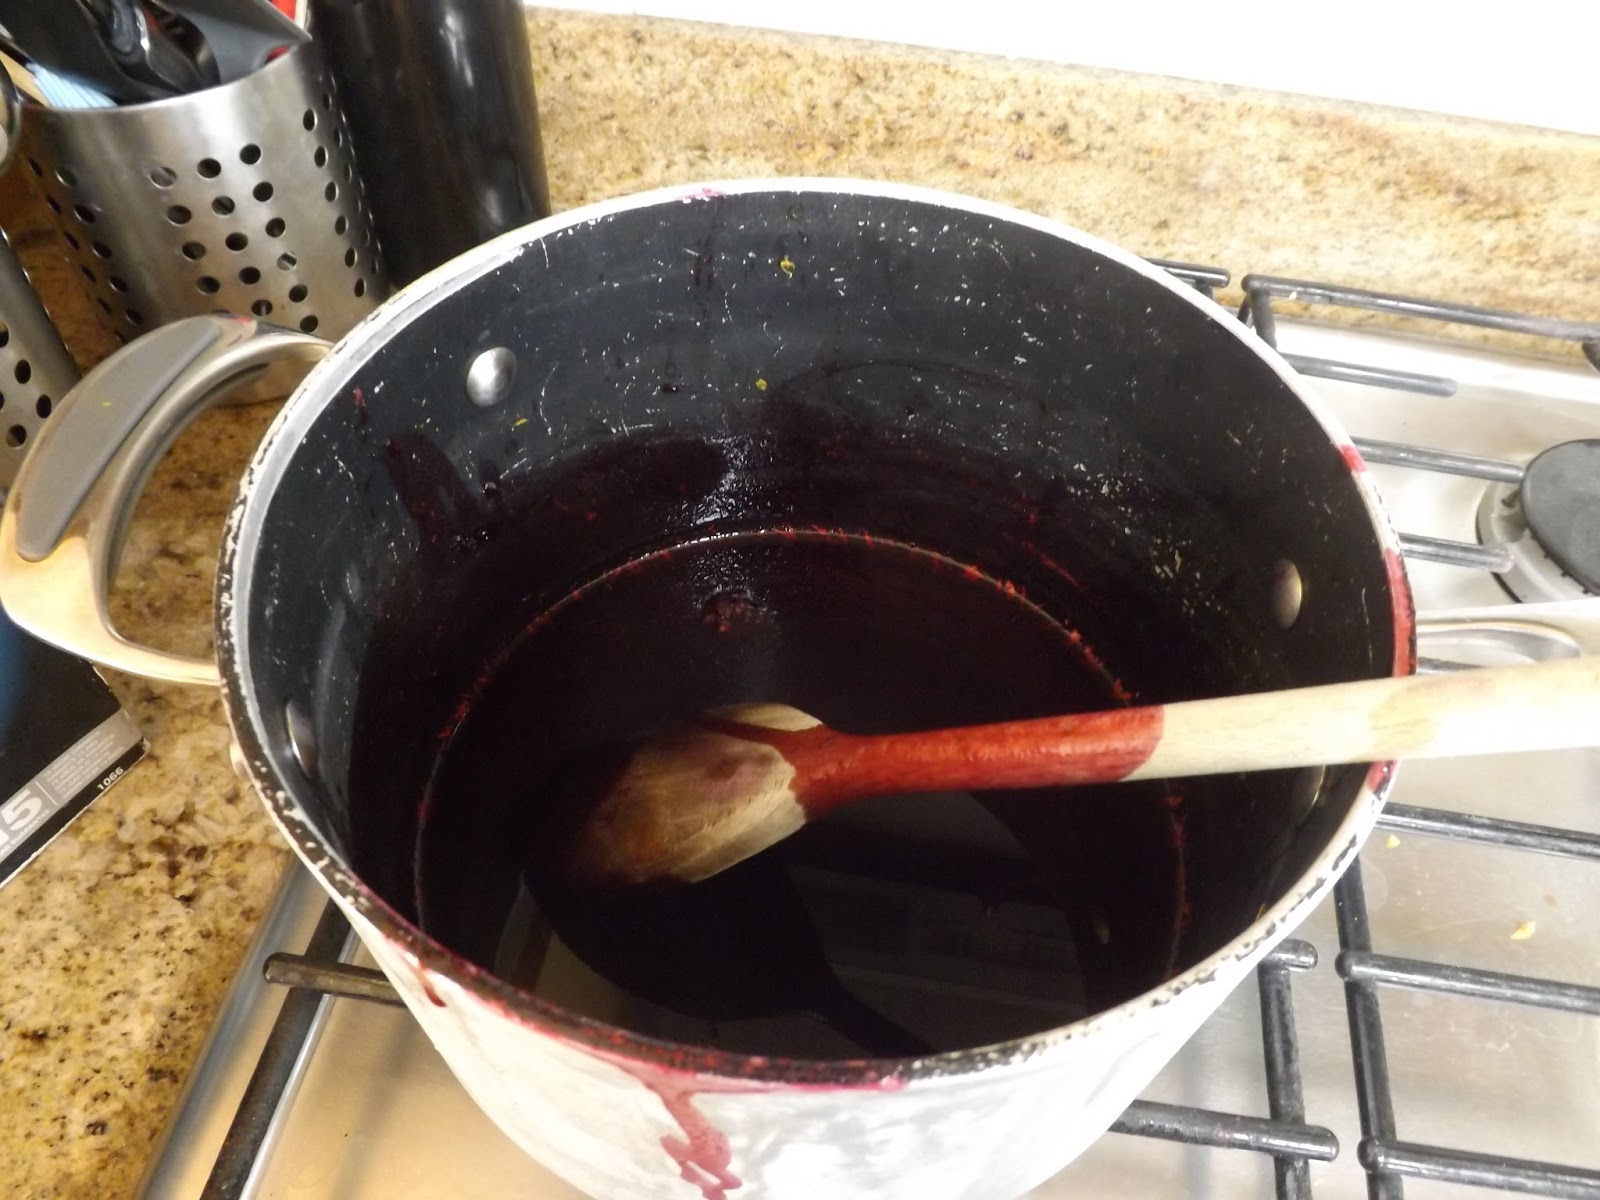
6. Add the orange zest and juice, vanilla pod, sugar and frozen fruits to a pan and bring up the boil, this will take about 10 minutes, strain the fruit from the syrup and place the syrup back on the boil for a few minutes and reduce until thick. Leave to cool.


7. Scoop out a 10p sized spoonful from the middle of the cup cake, take a teaspoon of the fruit, then a dollop of cream and then add a drizzle of syrup. Repeat this process on every cup cake until you have run out of cake. Tuck in and enjoy! 


These cupcakes are great for a party or a barbeque, plus you can vary the amount of fruit and cream you add, for example, I am not a huge fan of cream and cake, so I add less cream on some and more fruit. This is also a great alternative to a giant creamy cake as you can vary the amount you eat and they are easier to clean up.

I'm finished in Germany, so I will shaking over to one of my favorite places in the world, Spain! I will be making some yummy churros (which is also one of my favorite foods!) please keep sharing and baking!!!! XX


Thanks to Jamie Oliver for the recipe!!! :) X


Monday 22 July 2013

Germany- Butterkuchen (German Butter Cake)

A Little History:

Butterkuchen (translated as Butter Cake) is a cake that is usually served in coffee houses in North Germany. Its origin is unknown but the cake is traditionally eaten at weddings and funerals, the cake is sometimes referred to as Freud-und-Leid-Kuchen (which is translated as Joy and Sorrow cake) or Beerdigungskuchen (translated as funeral cake). The interesting thing about Butterkuchen is that it uses yeast, which is used for baking bread/ enriched doughs, however Butterkuchen mixture does not use strong bread flour but plain flour, this therefore gives the cake more of a dense texture. 


Ingredients:

  • 400 grams plain flour
  • 50 grams sugar
  • 3 teaspoon (roughly one pack) of dried instant yeast
  • 130 millimeters warm milk
  • 70 grams of unsalted butter, melted 
  • 1 teaspoon salt

For the top of the cake: 

  • 150 grams unsalted butter
  • 100 grams sugar
  • 1/2 teaspoon of cinnamon
  • 100 grams of chopped almonds (I didn't have any and neither did my local supermarket so when you do make this recipe please have a pack of almonds on hand!)


Method:

1. Put a dough hook attachment on a freestanding mixer, if you don't have a freestanding mixer then you are more then welcome to make this recipe by hand, you will need arms of steel, but don't worry you would have burnt all the calories off to eat a piece of cake at the end! Put the flour and sugar in a bowl and then add the yeast and stir together. 


2. Turn on the mixer and put it on the lowest speed, add the warm milk, then the eggs, followed by the melted butter and then the salt. Whack the mixer onto a medium speed and mix for five minutes or until the mixture pulls away from the bowl. Cover the bowl with a tea towel, cling film or a shower cap (thats what I did!) and leave for 30 minutes in a warm place (I left mine outside as it was 34 degrees but an airing cupboard, somewhere with a tumble dryer, next to the oven with the door slightly open is fine).


3. Grease a baking sheet with a little butter. After 30 minutes, place the dough onto a floured surface and knead for a little bit. Then using a rolling pin, spread the dough onto the baking sheet, cover again and leave in a warm place for 30 minutes, meanwhile preheat the oven to 170 degrees celsius.


4. Remove the cover and then using your fingers create cute little dimples all over the dough, then place a little butter in every single hole (this is time consuming so I suggest you listen to some music or have someone to talk to, otherwise you may lose your marbles!) mix together the cinnamon and sugar and the sprinkle all over the cake, then sprinkle the almonds over the cake.


 5. Place the cake in the oven for five minutes. After five minutes, change the oven temperature to 200 degrees centigrade for 12 minutes, keep an eye on the cake as it could start to burn (like mine did!), the cake should be a light brown colour once done.


9. Leave the cake to cool and then cut up into little pieces.


This cake is very sweet, buttery and delicious! I would suggest to serve this cake with a strong coffee due to how sweet this cake is, or you could just eat it as it is! You could also serve this as a petite fious at the end of a dinner party with coffee and tea, you could also give it as a gift to someone for Christmas or a birthday.

This is the first recipe from my trip to Germany, next recipe is going to be a twist on the classic Black Forest Gateau (and before you ask its not going to look like its from the 70's!) Thanks for reading, please send me your bakes and suggestions and please keep sharing! :)


Thursday 11 July 2013

France- Madeleines

A Little History:

Madeleines are a small shell shaped sponge cake from the Lorraine region of France. There are many stories about how the small cakes came to be. One story suggests that the cakes were made for a 19th century pastry chef Madeleine Paulmier. Another story is that the same pastry chef made them for Stanisław I Leszczyński, who enjoyed them so much that he named them after her. Madeleines are traditionally made using a genoise cake batter and in order for the cakes to be consider madeleines they have to be shell shaped. 


Ingredients:

  • 2 free range eggs
  • 100 grams caster sugar
  • 100 grams of plain flour, including some for dusting
  • 1 lemon, juiced and zested
  • 3/4 teaspoons of baking powder
  • 100 grams of butter, melted and cooled slightly, plus extra for greasing


For this recipe you have to have a Madeleine tin, you can get these on amazon, ebay or lake land. I got mine off amazon for £10, I also chose a silicone one as I prefer silicone to metal.


1. Preheat the oven to 200 degrees centigrade/ 400 F/ Gas 6. Melt a little butter and brush the madeleine tray, then sprinkle a little flour on and tap out the excess, this will stop the madeleines from sticking.


2. Whisk the eggs and the sugar together until they are frothy (mine looked a little bit like a milkshake, I highly suggest you don't drink it!). Then lightly whisk in the rest of the ingredients, then leave to stand for 20 minutes.


3. After 20 minutes, pour the mixture slowly into the tin, don't overfill the tin otherwise it will make it difficult to get it to the oven.  I tipped the mixture into a jug so I could control how much mixture went into the tin and it was a lot less messy as well. Put in the oven for 8-10 minutes (I put mine in for nine).


4. The cakes should look golden and should be risen in the middle. Transfer the madeleines to a wire tray and wait for them to cool slightly. These are best eaten within the hour of serving. 


These are delicious, sticky and very moreish! The perfect bake for a summers day! 

So that finishes France, I'll be sad to leave but we are going to Germany next and as someone who likes German cuisine I am excited to make some of the classic bakes that the country has to offer! 

Thank you for reading and send me pictures of any of the bakes that you have done off this blog!!!!


Thanks to the BBC for the recipe!